What Can We Customize on a Truck Camera?
Many truck camera projects do not need a new camera platform. They need the camera to fit the vehicle that is already there: a 24 V supply, an existing CVBS monitor, a waterproof connector, a specific pinout or a lead that reaches the mounting point without a service loop under the chassis. This guide separates the changes we can make, the evidence needed for each one, and the parts that should normally stay standard.

Key takeaways
- Most truck-camera custom requests change the power, video output, connector or harness, not the image platform.
- 24 V compatibility needs a measured supply and a defined protection path; the connector alone does not prove the voltage range.
- AHD, CVBS, USB and LVDS are different system interfaces. Match the exact monitor, recorder or host.
- Freeze the connector, pinout, lead length, artwork and software defaults before the pilot batch.
The first useful question is not “which camera?” It is “what has to connect to what?” A camera can be technically sound and still be wrong for a truck if its supply matches the wrong rail, its video output does not match the display, or its connector cannot survive the route from the cab to the body. Those are interface problems, and most of them can be solved without changing the sensor.
1. Start with the complete chain, not the camera alone

A truck camera sits in a chain: vehicle supply, camera, connector, harness, monitor or recorder, and the person using the picture. A change at any point can affect the others. A 12 V camera on a 24 V vehicle needs a supply solution. An AHD camera on a CVBS-only display needs a signal solution. A camera with the right plug but the wrong pinout is still the wrong camera.
| What the project asks for | What usually changes | What the buyer must confirm |
|---|---|---|
| Use a 12 V camera on a 24 V truck | Voltage conversion or a 24 V-compatible build | Measured vehicle range, connector, load and protection |
| Connect AHD video to an older display | AHD-to-CVBS adaptation or a different monitor path | Display input, resolution and whether live latency is acceptable |
| Run the camera from a computer or Android host | USB camera output | Host support, cable length, mounting and software |
| Match an existing vehicle harness | Connector type, gender and pinout | Photos of both mating halves and a continuity check |
| Reach a body or trailer position | Harness length or extension | Route length with a service loop, conductor gauge and sealing |
| Use the buyer’s brand or default settings | Logo, label, packaging, OSD or default configuration | Approved artwork, trademark permission and the exact model |
This is also why the truck camera range should be treated as a starting platform rather than a menu of isolated parts. The useful custom answer follows the vehicle interface. It does not begin with a list of connectors we happen to stock.
2. Power input: make 24 V and 12 V work together deliberately
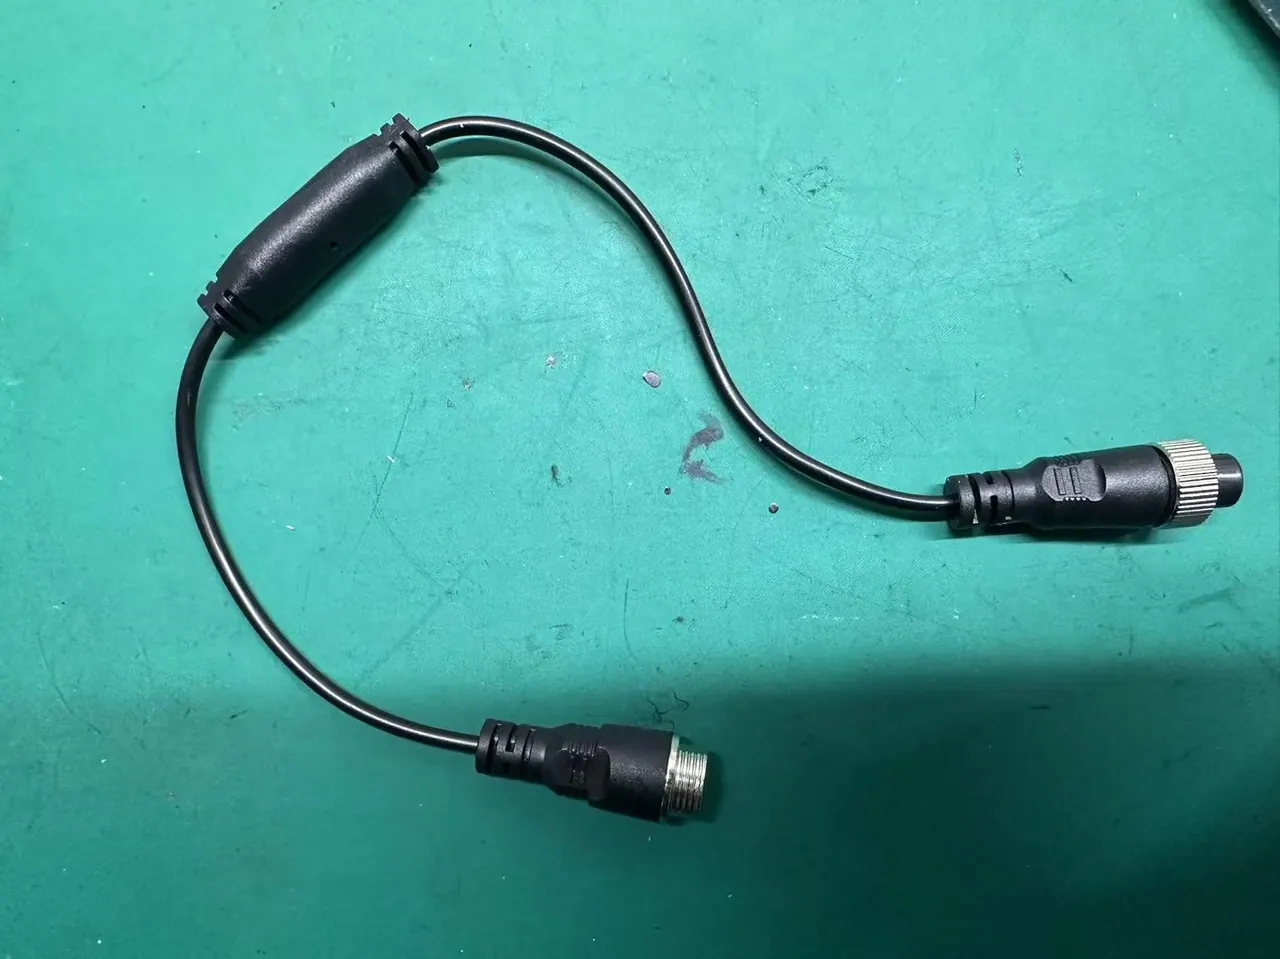
The examples in our modification set include a 24-32 V to 12 V inline converter and a separate 24 V cable option. They solve the same broad problem in different ways: the camera or accessory needs a supply that matches what it was designed to accept, while the vehicle supplies something else.
A converter is not a universal fix. Before selecting one, measure the vehicle voltage with the engine off, while cranking and while running. Confirm the connector on both sides, the current required by the load, and whether the installation needs a fused feed. The converter must also be positioned where water, heat and vibration will not turn a working bench solution into a roadside failure.
A 24 V lead can be the cleaner answer when the whole camera build is already specified for the vehicle rail. In that case the cable becomes part of the product definition: conductor size, length, plug, boot and pin assignment all need to be frozen together. The wiring principles in our MDVR and monitor wiring guide apply just as much to a single camera as they do to a multi-channel system.
3. Video output: match AHD, CVBS, USB or LVDS to the receiving end

The output format decides what can display or record the image. Our modification examples cover an AHD-to-CVBS path, a USB camera and an LVDS camera. These are not interchangeable names for “high definition”. They are different interfaces with different hosts, cabling and commissioning requirements.
AHD is useful when the truck already has a compatible AHD monitor or recorder and the installer wants to keep the analogue cable route. CVBS is the compatibility path for an older display, but the picture quality ceiling is lower. The trade is explained in AHD vs IP vs CVBS. Do not promise an AHD-quality result at the end of a CVBS converter; the converter solves compatibility, not missing detail.
A USB camera is a different product decision. It can be useful when the image is consumed by a computer, an Android host or a dedicated application rather than a conventional vehicle monitor. The host has to recognise the camera, supply the required USB power and keep the cable stable in a moving vehicle. A USB plug on the camera does not by itself prove that every tablet or head unit will work with it.
LVDS is used where the camera and display are designed as a matched digital link. It can carry a clean signal over the intended harness, but it is less forgiving of a random display, an unknown pinout or a cable that was not specified for that link. Treat LVDS as a system interface, not a universal video output.
The right question is therefore: what exactly will receive the picture, and what input does it accept today? A photo of the display label, the recorder model and the current camera connector is more useful than a general request for “the best picture”.
4. Connectors: match the vehicle, not just the photograph
The modification set includes waterproof BMW-style plugs and small aviation connectors. Both can be appropriate on a truck, but the shell is only one part of the specification. The mating half, gender, pin count, pin assignment, locking method, sealing boot and strain relief all have to match.
A connector that looks identical can be wired differently. Before a custom lead is built, send a clear photo of the camera plug, a photo of the socket on the vehicle or recorder, and the pinout if it is available. Where the existing installation is uncertain, continuity should be checked with a meter rather than inferred from wire colour.
Waterproofing also depends on assembly. A sealed plug with an incorrectly fitted boot, a stretched cable entry or an exposed joint can still admit water. The connector should be specified as part of the harness, with the boot and cable outer diameter included in the drawing.
5. Harness length and pinout belong in the same drawing

A longer lead is not automatically a better lead. The route needs enough length to avoid tension and enough slack for service without creating a loop that rubs on the chassis. The cable should follow the vehicle route, not the shortest line across the workshop floor.
For each custom harness, freeze four things on one drawing: connector at the camera end, connector at the display or recorder end, pin assignment, and nominal length. Add the expected service loop and the sealing method. This prevents a sample that works on the bench from being impossible to install through the vehicle body.
The camera interface range shows the kind of plugs and leads that can be matched to a project. Where the vehicle already uses a standard connector, keeping that standard usually makes spare parts and field replacement easier than inventing a new plug.
6. Branding and software defaults are small changes with a large batch impact

Logo service, labels, packaging, on-screen language and default settings can make a standard camera feel like a dedicated product. They can also create a batch-wide mistake if the artwork or configuration is not frozen before the pilot.
For branding, supply vector artwork where possible, state the exact position and size, and confirm that the buyer has permission to use the trademark. For software defaults, write down mirror image, warning lines, language, brightness and any start-up behaviour that must be preset. A setting that is wrong on every unit is more expensive than a connector that is wrong on a sample.
These changes still depend on the model platform. A setting that can be changed on one camera or monitor may not exist on another. “Can you add our logo?” and “can you change the OSD?” should be checked against the exact hardware and firmware version, not agreed from the product family name alone.
7. What should normally stay standard

A custom project becomes easier to support when the internal platform stays stable. The sensor, ISP, sealing method, optical stack and power protection should normally remain standard unless there is a documented reason and a validation plan to change them.
- Sensor and ISP platform. A proven pair has known low-light behaviour, colour reproduction and tuning. Changing it creates a new image-validation project.
- Sealing method. The front window, gasket and cable entry are validated as a system. A new connector route may change the seal and therefore needs a new leak check.
- Power protection. Reverse polarity, transients and vehicle supply variation should be handled by a tested design, not added as an unverified inline part after the fact.
- Optical alignment. Lens focus, IR layout and window position remain standard unless the project explicitly includes an optical change.
- Pin convention. Standardise the pinout across the fleet where possible. A unique harness for every vehicle type increases installation and spare-part errors.
8. Choose the smallest change that solves the installation problem
The most reliable custom programme is usually the one that changes the fewest internal parts. Use the table below as a first scoping conversation.
| Project requirement | Smallest sensible path | When a larger change may be justified |
|---|---|---|
| Camera is 12 V; vehicle is 24 V | Specify a converter or a 24 V-compatible model | Only when the installed environment or load requires a different power architecture |
| New AHD camera; old CVBS display | Use a CVBS-compatible camera or a validated adapter path | Replace the display when picture detail and latency matter more than reuse |
| Host is a computer or Android device | Select a USB camera with confirmed host compatibility | A custom application or driver project when the standard host path cannot meet the requirement |
| Existing harness has a non-standard plug | Build a matching lead from the mating connector and pinout | A new harness standard across a fleet, after installation trials |
| Buyer needs their logo | Laser mark, label or packaging on an approved model | New housing tooling only when the external form itself is the requirement |
That approach connects directly to the wider custom car-camera project process: survey the installation, freeze the change list, sample the change and validate it before release. A truck project adds one more constraint, because the harness often runs much farther and passes through more weather, vibration and service points.
9. Validate the sample in the vehicle, not only at the bench

A custom interface should be tested as an installation, not just as a set of parts on a table. At minimum, confirm power-up at the measured vehicle voltage, video stability on the actual display or recorder, connector retention, cable routing and sealing at the camera entry point.
- Bench test the exact sample. Confirm output, power and pinout before it enters the vehicle.
- Fit it on the intended truck. Use the real route and mounting position; temporary leads hide length and bend-radius problems.
- Run the vehicle. Check start-up, cranking, display handover, vibration and any warning or trigger behaviour.
- Inspect after operation. Look for heat, loose connectors, cable abrasion and water entry.
- Freeze the released drawing. Record connector, pinout, length, converter position, label artwork and software defaults.
- Run a pilot batch. Real installers will find handling problems that a single sample does not.
10. What to send before asking for a custom truck-camera sample

A useful first package is short and specific:
- Vehicle type and nominal voltage, plus the measured voltage at the intended connection point.
- Photos of the camera position, the existing connector and the display or recorder label.
- The video format the receiving equipment accepts: AHD, CVBS, USB or LVDS.
- The required cable length and route, including whether a service loop is needed.
- The connector mating half or pinout, and the quantity of pins used.
- The requested branding, packaging or software defaults.
- The first quantity, expected annual quantity and destination market.
With that information, we can separate a catalogue match from a real modification and quote the correct path. Without it, every option looks possible on paper, but none can be confidently released for installation.
11. What the photographs show, and what they do not prove
The images in this article come from the modification-function source folder. They show an LVDS camera displayed on a test monitor, a 24-32 V to 12 V converter, an AHD-to-CVBS adapter lead, a USB camera cable, a 24 V cable, a waterproof BMW-style connector, a small aviation connector and a batch of finished waterproof connector leads.
They demonstrate the types of interface work we handle. They do not prove that every combination is compatible with every camera, display or vehicle. Compatibility still has to be checked against the exact model, pinout, measured supply and test result for the project.
Frequently asked questions
Can you supply a 12 V truck camera for a 24 V vehicle?
Usually through a 24-32 V to 12 V converter or a camera model already built for the vehicle supply. The correct choice depends on the measured voltage, load, connector, installation position and protection required. The camera label alone is not enough to approve the connection.
Can an AHD camera work with an old CVBS monitor?
It needs a compatible conversion path or a different camera output. AHD and CVBS are different signal formats, and the converter solves compatibility rather than restoring detail that the CVBS display cannot show. Confirm latency and image behaviour on the actual monitor.
Can you match the waterproof connector already used on our trucks?
We can start from photos of both mating halves, the pinout and the required cable length. The shell, pins, boot and strain relief all have to match. Where the existing wiring is uncertain, check continuity with a meter instead of relying on colour codes.
Can a truck camera have USB or LVDS output?
Yes, on suitable models and with a confirmed host. USB is normally used with a computer or compatible Android device, while LVDS is a matched camera-to-display link. Both need the exact host, cable and configuration checked; the plug name alone does not guarantee compatibility.
Can you add our logo and preset the camera settings?
Logo, label, packaging and supported software defaults can be included in a project once the exact model and firmware are confirmed. Supply approved artwork and a written settings list, and freeze them before the pilot batch.
What is the quickest truck-camera customization?
A connector, lead length, voltage adapter or supported software default is usually faster than a housing, lens or new platform change. The fastest reliable route is still the smallest change that solves the measured installation problem.
Related articles

28. Custom Car Cameras: What a Project Actually Changes
Custom car cameras usually change a proven platform: housing, bracket, connector, harness, optics, software or branding. See what each change involves.
Read guide 11 min read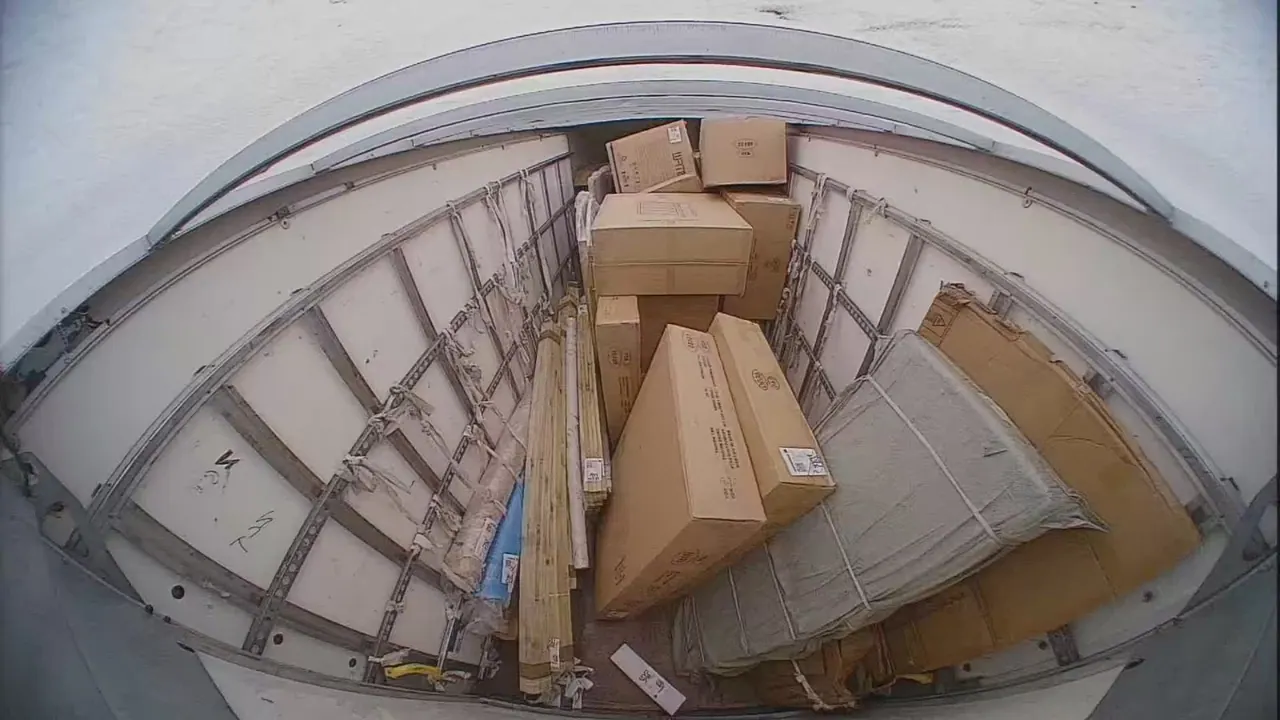
03. AHD vs IP vs CVBS: Which Video Standard for a Vehicle Fleet?
AHD, IP and CVBS compared for commercial vehicles: resolution, cable distance, latency, cost, recording quality and which standard suits which installation.
Read guide 4 min read
13. The Wiring Mistake That Kills Monitors in MDVR Installations — And the Zero-Cost Fix
Why monitors fail months after an MDVR installation: power feed through the shared aviation cable, and the wiring change that isolates the two.
Read guide 8 min read
01. How to Choose a Truck Camera: The Complete Buyer's Guide
A practical guide to specifying commercial vehicle cameras: position, resolution, viewing angle, night vision, waterproof rating and connector type.
Read guide 6 min readLooking for a reliable camera system supplier?
Tell us your vehicle type and application — we will recommend the right system and quote within 24 hours. Distributors and OEM/ODM projects welcome.