
How to Fit a Reversing Camera to a Rigid Truck: Positions, Wiring and Checks
A rigid truck is the easiest vehicle to put a reversing camera on, and the easiest to get wrong. The camera almost always works on the bench and fails in service for one of three reasons: it is mounted where it cannot see the ground closest to the vehicle, it is fed from the wrong circuit, or it was asked to do a job that needs a second camera.
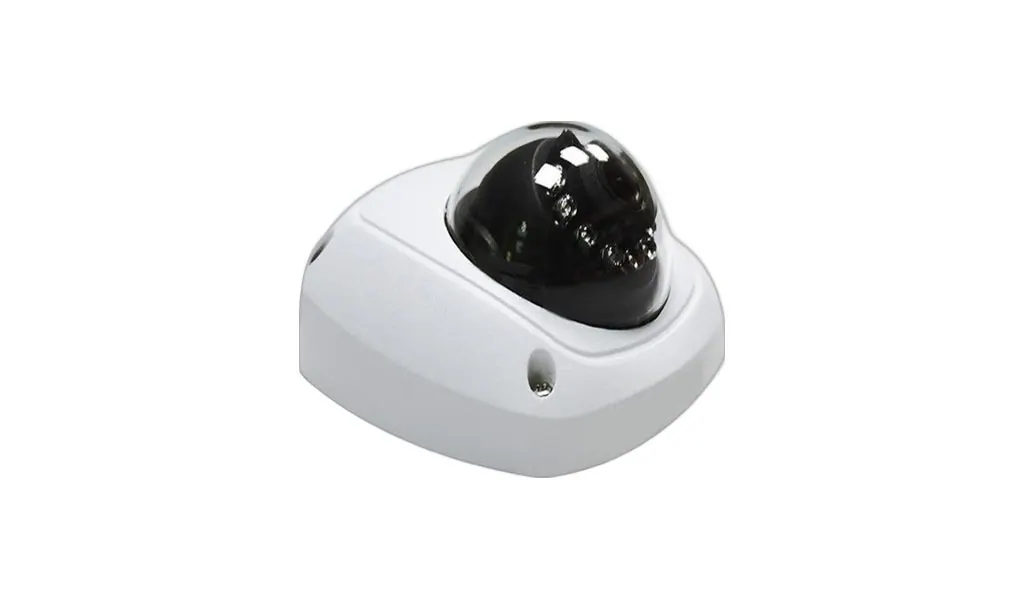
Key takeaways
- Nearest visible ground = camera height ÷ tan(tilt + half the vertical view). Measure it, do not guess it.
- Low centre on the rear face is the only position that sees the ground immediately behind the vehicle.
- Trigger the display from the reverse lamp, but power the camera from a fused ignition feed.
- Ground to the chassis rather than a bracket, and keep the video cable away from the starter and alternator loom.
Start with what the driver cannot see
Every reversing camera decision follows from one measurement: how far behind the vehicle the driver loses sight of the ground. On a rigid truck with a high body, that distance is set by the body height and the position of the mirrors, and it is usually between three and six metres.
A camera cannot see everything behind the truck either. Like the driver, it has a blind area — the wedge of ground between the rear face of the vehicle and the nearest point its lower edge of view can reach. That distance is arithmetic:
| Camera height | Downward tilt | Vertical field of view | Nearest visible ground |
|---|---|---|---|
| 0.9 m | 20° | 60° | 0.76 m behind the lens |
| 0.9 m | 5° | 60° | 1.29 m behind the lens |
| 2.8 m (high, centre of a box body) | 35° | 60° | 1.31 m behind the lens |
| 2.8 m | 15° | 60° | 2.80 m behind the lens |
Read the last two rows together. The same camera at the same height leaves a blind strip of 1.3 m or 2.8 m, depending only on how far it is tilted down. This is why a camera that looks fine on a static test can still leave a pedestrian invisible at the back of the vehicle.
Three mounting positions, and what each one buys you
| Position | Sees | Lens | Best for |
|---|---|---|---|
| Low centre, on the rear face | The ground immediately behind the vehicle, plus what is approaching | 150° (wide) | Reversing into a loading bay or against a wall |
| High centre, on the body or rear frame | Further back and over a trailer or tail lift | 110–150° | Long reversing distances, yard manoeuvring |
| Rear corner, angled outwards | The nearside rear quarter — the corner a car sits in | 90–150° | Vehicles that reverse and turn, and blind-side kerbs |
On a rigid truck the low centre position is the one that removes the blind spot the driver cares about most, because it is the only position that can see the ground immediately behind the rear face. The high position sees further but leaves a larger strip directly behind, and it is the position people choose by default because it is easier to bolt on.
What the specification actually needs to be
- Resolution: 1080P AHD. On a 7-inch monitor, 1080P is the point at which a number plate or a person’s outline is still identifiable; 720P is adequate for guidance but weak as evidence.
- Viewing angle: 150° for a low rear-facing camera — the width is what lets the driver see both rear corners. A 110° camera on the rear face leaves the corners outside the picture.
- Waterproofing: IP69 or IP69K. Reversing cameras sit in the spray pattern of the rear wheels and are washed with the vehicle. The connector matters as much as the housing — most water ingress happens at the joint, not through the body.
- Night vision: infrared only helps if the reversing area is dark. If the yard is lit, or the reversing manoeuvre happens only in daylight, IR lamps buy nothing and cost power.
- Voltage: match the vehicle. A 24 V truck needs a 24 V camera or a converter; a 12 V camera fed from a 24 V system will work briefly and then not.
Wiring: the three mistakes that kill cameras
- Powering the camera from the reverse lamp. The reverse lamp circuit is convenient, but on many trucks it is a thin wire carrying a noisy, poorly regulated feed shared with the lamp itself. Take the trigger from it, and take the camera’s power from a fused ignition feed. Then the camera is running before reverse is selected, which also removes the boot delay.
- Grounding to a bracket instead of the chassis. A bracket that is bolted to a painted surface is not a ground connection. Rust, paint and vibration turn it into a resistor, and the symptom is a camera that works in dry weather and fades or goes black when the lights are switched on.
- Running the video cable alongside the starter or alternator loom. The camera is the cheapest part of the installation and the cable is the part that decides whether the picture is clean. Route it away from high-current wiring, use shielded cable, and leave a drip loop before the connector so water runs off rather than into it.
The same failure modes — surge on a shared supply, a ground path carrying current it was never meant to carry — are covered in detail in The Wiring Mistake That Kills Monitors in MDVR Installations. The failure is the same whether the damaged device is a monitor or a camera.
The monitor, the trigger and the shopping list
| Part | What to specify | Why |
|---|---|---|
| Camera | 1080P AHD, 150°, IP69, correct voltage | The whole system is built on this choice |
| Monitor | 7-inch, AHD input, auto-switch on reverse trigger | A monitor that does not switch automatically gets ignored |
| Cable | Shielded, correct length with a drip loop | Unshielded cable picks up the truck’s own electrical noise |
| Trigger | From the reverse lamp circuit | Switches the display without powering the camera |
| Power | Fused ignition feed, not the lamp circuit | Clean supply, no boot delay |
| Splitter | If the footage is also recorded | One camera can feed a monitor and an MDVR |
Where the vehicle already has a recorder, the camera can feed both the monitor and the MDVR through a splitter harness. That is usually cheaper than adding a second camera, and it means the reversing view and the recorded evidence describe the same incident.
When a reversing camera is not enough
- Reversing at night in a yard with pedestrians. A camera shows the driver a picture, and a driver who is watching mirrors and a screen can still miss a person standing still. This is the case for an AI blind spot camera with an audible warning, or radar — a warning does not require the driver to look in the right place at the right second.
- Blind-side manoeuvring in tight yards. One rear camera cannot cover both rear corners on a wide vehicle. A corner camera, or a 360° system, is the honest answer.
- The vehicle reverses while turning. A camera aimed straight back stops covering the corner as the vehicle swings. The wider the tail swing, the more this matters.
A worked example
An 18-tonne rigid truck, body height 3.4 m. The camera is mounted on the rear face at 0.9 m above the ground, tilted down 20°, with a 150° lens whose vertical field of view is about 60°.
- Lower edge of view = 20° + 30° = 50° below horizontal.
- Nearest visible ground = 0.9 ÷ tan(50°) = 0.76 m behind the lens.
- The driver sees the ground from 0.76 m behind the camera to the limit of the lens, so the rear face is covered as soon as the vehicle is 1 m from an obstacle.
- Tilt the same camera down only 5° and the nearest visible ground moves to 1.29 m — half a metre of ground, and anything standing on it, disappears from the picture.
Before you close the panels
- Look at the live picture, not the bench one: engine running, headlights on, reverse selected.
- Walk behind the vehicle and check that a person is visible from the point where the driver would first need to see them.
- Check the nearest visible point with a tape measure rather than by eye — it is usually further than it looks on a 7-inch screen.
- Check the connector is sealed, tightened and sitting in a drip loop.
- Check the trigger switches the display within about a second of selecting reverse.
- Check the ground by measuring resistance from the camera body to the chassis, not by assuming the bracket is bonded.
- Record a clip in the conditions the vehicle works in — the yard at night, or the loading bay at dawn — and watch it back before sign-off.
Frequently asked questions
How far behind the truck can the driver actually see?
It depends on the lens and the mounting, not on the camera’s price. The nearest visible point is the camera height divided by the tangent of (downward tilt + half the vertical field of view). A camera at 0.9 m tilted 20° down with a 60° vertical field of view starts seeing ground 0.76 m behind the lens; the same camera tilted 5° starts at 1.29 m.
Can I power the reversing camera from the reverse light?
Take the trigger from the reverse lamp, but power the camera from a fused ignition feed. The lamp circuit is thin, noisy and shared with the lamp itself, and powering a camera from it usually means a boot delay of a second or more every time reverse is selected — during which the driver is reversing without a picture.
Can I use a 12 V camera on a 24 V truck?
Not directly. A 12 V camera on a 24 V system will run for a while and then fail, usually at the worst moment. Either order the 24 V version of the camera or fit a converter — the 24 V-to-12 V converter is a standard modification for us.
Do I need a heated camera?
If the vehicle works in freezing or wet conditions, condensation on the lens cover is the most common reason a working camera produces a useless picture at six in the morning. A heated lens or a housing with a defrost function solves it; cleaning the cover solves most of the rest.
Related articles
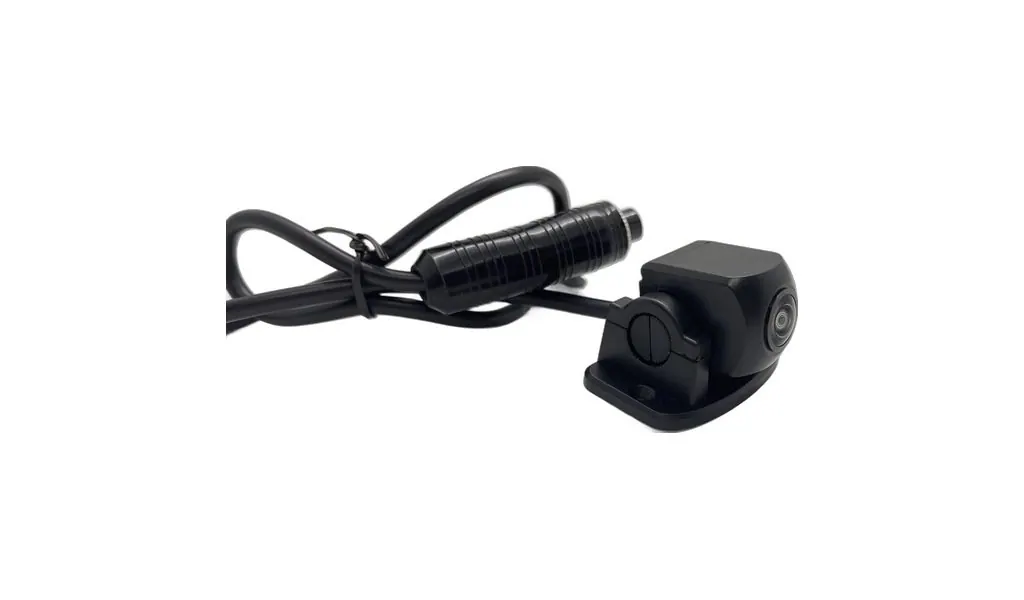
How Far Will a Camera Actually See? Focal Length, Sensor Size and Field of View, Worked Out
Focal length, sensor size and field of view worked out: how far a camera sees, what lens reads a plate at 10 m, and the mounting blind strip.
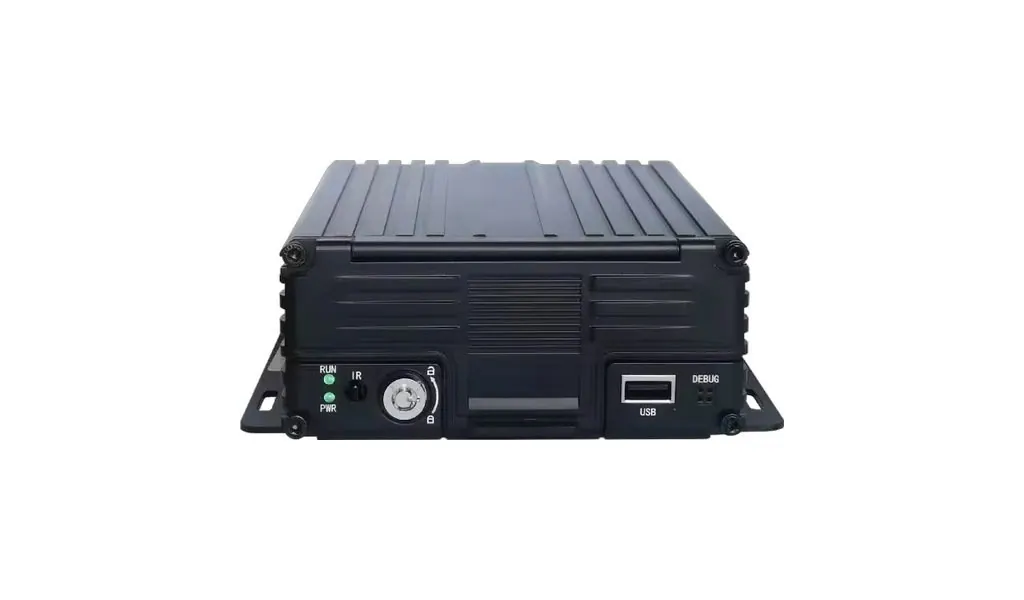
The Wiring Mistake That Kills Monitors in MDVR Installations — And the Zero-Cost Fix
Why monitors fail months after an MDVR installation: power feed through the shared aviation cable, and the wiring change that isolates the two.
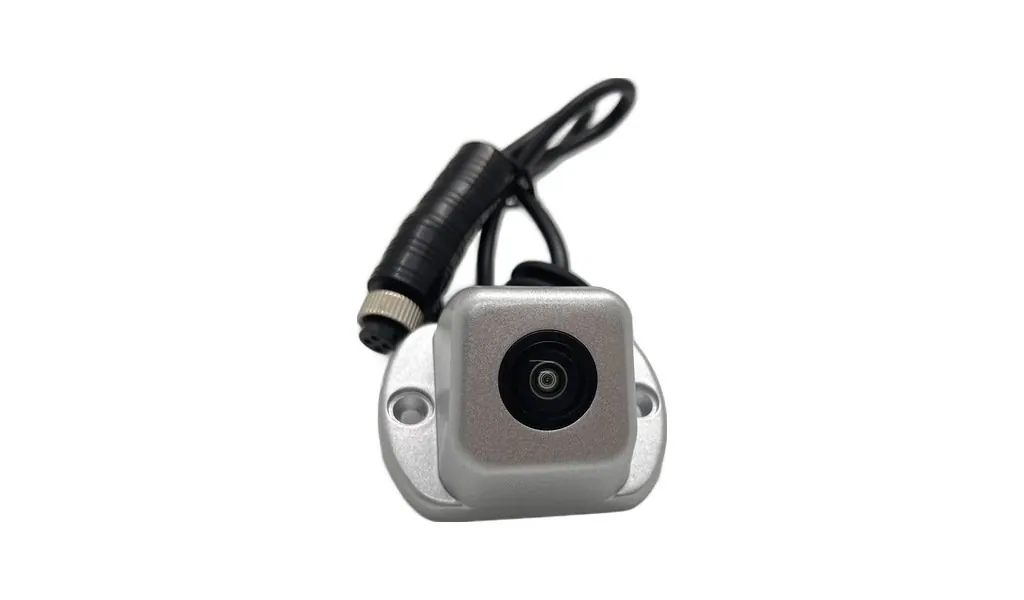
How to Choose a Truck Camera: The Complete Buyer's Guide
A practical guide to specifying commercial vehicle cameras: position, resolution, viewing angle, night vision, waterproof rating and connector type.
Looking for a reliable camera system supplier?
Tell us your vehicle type and application — we will recommend the right system and quote within 24 hours. Distributors and OEM/ODM projects welcome.